

The Model Context Protocol (MCP) created by Antropic in 2024 is fundamentally changing how we interact with local Large Language Models (LLMs). Instead of keeping your models sandboxed and isolated, MCP acts as a secure, open standard that grants local models contextual access to real-world tools, filesystems, and APIs.
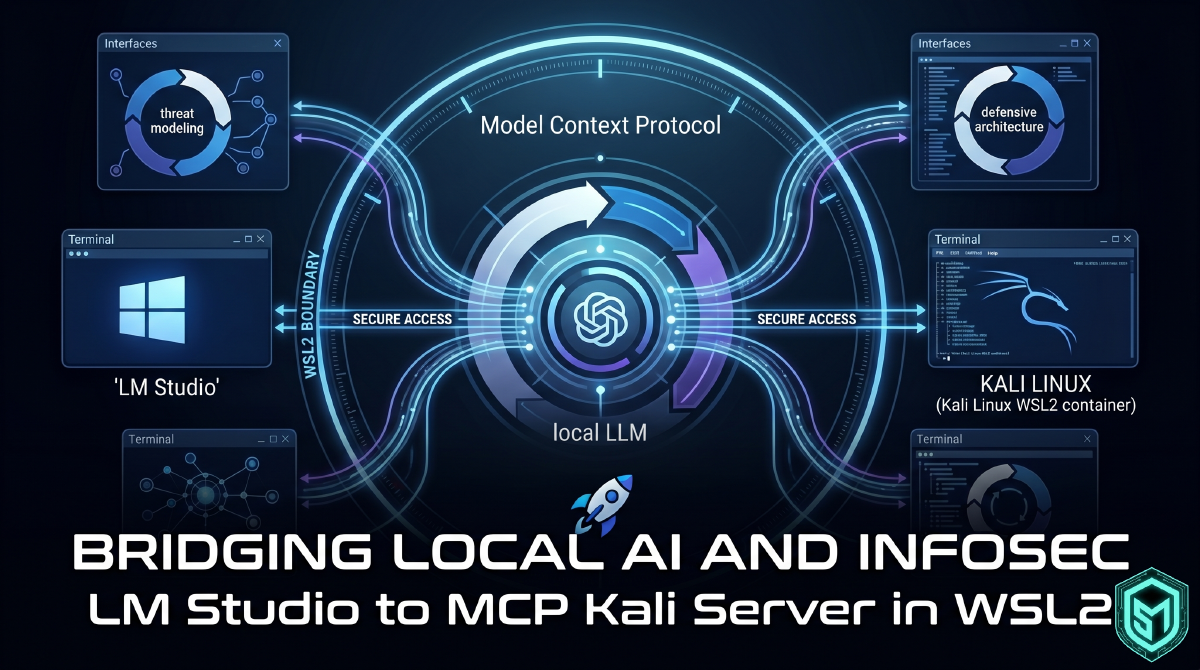
For security professionals and homelab enthusiasts, running an MCP server inside an isolated Kali Linux WSL2 container and hooking it up to LM Studio on Windows creates an incredibly powerful workspace. It allows a local LLM to safely generate syntax, parse security logs, or drive utilities directly inside a dedicated offensive environment.
However, getting a Windows-native application like LM Studio to seamlessly execute scripts inside a specific Python virtual environment buried inside WSL2 presents unique cross-environment hurdles.
This guide walks through the complete setup—from installing the environment to configuring the automated cross-OS execution chain.
Disclaimer: The content provided in this guide is strictly for educational, research, and authorized defensive testing purposes. The author assumes no liability or responsibility for any misuse, damage, or illegal actions resulting from the execution of the workflows described herein. Always ensure you have explicit, written authorization before interacting with any target network or system.
Furthermore, this site maintains no official affiliation, sponsorship, or endorsement with LM Studio, the repository owners, or any third-party software applications mentioned in this article. Tools are selected based solely on local laboratory preferences and standalone utility performance.
Step 1: Install WSL2 and Kali Linux on Windows #
If you don’t already have the Windows Subsystem for Linux (WSL2) and Kali Linux running on your machine, you can get them set up natively using PowerShell.
- Open Windows PowerShell as an Administrator.
- Execute the following command to install WSL and the Kali Linux distribution:
wsl --install -d kali-linux- Once the installation completes, restart your machine if prompted.
- Launch the new Kali Linux application from your Windows Start Menu to complete the initial setup, creating a secure default UNIX username and password when prompted.
Step 2: Prepare Kali and Install Common Tool Bases #
Before deploying the MCP infrastructure, we need to install the essential baseline build tools, dependencies, and core security utilities within the Kali environment.
Open your Kali Linux terminal and run the following commands:
# 1. Update system package repositories
sudo apt update && sudo apt full-upgrade -y

# 2. Install kali-linux-large metapackage containing a vast suite of security tools.
# This includes Python, pip, git, build-essential, nmap, gobuster, and many more.
sudo apt install kali-linux-large -y

# 3. Optional - Install Kex - Kali Desktop Experience for Windows Subsystem for Linux
# This provides a lightweight graphical desktop environment and RDP server for Kali Linux running in WSL2
sudo apt install kali-win-kex -y
Step 3: Clone the MCP-Kali-Server Repository #
Now we will clone the repository and establish an isolated virtual environment to keep our dependencies organized without breaking system-level Python packages.
In this walkthrough, we will use a generic placeholder path (/home/YOUR_USERNAME/). Replace YOUR_USERNAME with your actual Linux username.
# 1. Move to your user home directory
cd /home/YOUR_USERNAME/

# 2. Clone the MCP Kali Server repository
git clone [https://github.com/Wh0am123/MCP-Kali-Server.git](https://github.com/Wh0am123/MCP-Kali-Server.git)
cd MCP-Kali-Server

# 3. Create an isolated Python virtual environment
python3 -m venv .venv

# 4. Activate the virtual environment
source .venv/bin/activate

# 5. Install the required protocol, framework, and network dependencies
pip install -r requirements.txt
Step 4: Download LM Studio and Install a Model #
With the backend environment staged, we need an entry point for our local LLM client.
- Download and install the Windows client directly from the official LM Studio website.
- Launch LM Studio on your Windows host.
- Use the search bar inside the application to find an optimal model for local workflow automation. For text-based security execution and scripting tasks without restrictive alignment filters, search for a model variant like
Gemma 4 Uncensored. I recommend trying a few models for yourself. You should also have a decent amount of VRAM to run these models, so choose a model size that is appropriate for your system. (I will usegemma-4-e4b-uncensored-hauhaucs-aggressivefor this guide.) - Click Download to pull the model configuration locally onto your system.
Step 5: Configure the MCP Server in LM Studio #
This is where standard cross-OS implementations typically break down. Because source is a shell-builtin command rather than an independent binary executable file, Windows cannot invoke a direct instruction like wsl.exe source ....
To bypass this limitation, we instruct Windows to launch a full native bash context inside Kali using the -c flag. This allows us to smoothly chain our directory changes, activate the Python virtual environment, and execute the client script in a single, cohesive instruction stream.
- Inside LM Studio, navigate to the Chat interface and click the Plug Icon in the sidebar (or go to Settings -> Tools & Integrations).
- Click Edit mcp.json to open LM Studio’s configuration array.
- Add the following sanitized object block to your
"mcpServers"configuration, the timeout is set to 10 minutes to give the LLM time to think and execute tasks without timing out, the default timeout is 60 seconds. (make sure to replaceYOUR_USERNAMEwith your exact UNIX folder name):
{
  "mcpServers": {
    "kali_mcp": {
      "command": "wsl.exe",
      "args": [
        "-d",
        "kali-linux",
        "bash",
        "-c",
        "cd /home/YOUR_USERNAME/ && source .venv/bin/activate && python3 ./MCP-Kali-Server/client.py --server http://127.0.0.1:5000"
      ],
      "timeout": 600000
    }
  }
}
Step 6: Start the Server and Launch Your Chat #
The MCP-Kali-Server tool infrastructure relies on a lightweight Flask backend to execute tasks. Because traffic will be passing across the virtual hypervisor network interface between Windows and WSL2. By default the server will bind locally inside your WSL container and will not be reachable outside of this container.
- Open your Kali WSL terminal, ensure your
.venvis activated, and run the server process:
cd /home/YOUR_USERNAME/MCP-Kali-Server
python3 server.py # Defaults to local ip and port 5000
(Leave this terminal session running in the background).
- Return to LM Studio and save your updated
mcp.jsonfile. The software will instantly attempt to initialize the server process over the WSL boundary. - Open a new chat session, select your loaded model from the top dropdown, and look for the green status indicator next to
kali_mcpin your active tools panel.
You can now start a live chat session and leverage your local model to run security operations, generate network scans, and analyze outputs straight inside your native Windows interface!